
How To Keep Home And Property Cleanups Safe, Efficient, And Low-Waste
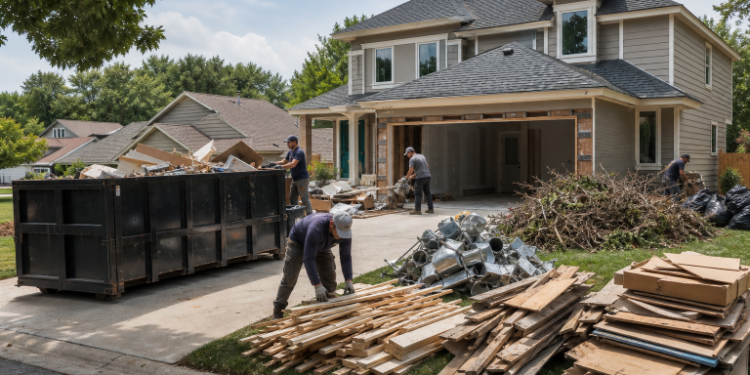
Home projects can create far more debris than expected. A bathroom renovation may produce drywall, flooring, fixtures, packaging, and old cabinetry. A property cleanout may uncover bulky furniture, broken tools, yard waste, and materials that cannot go into ordinary household trash. Planning for Dumpster Rentals early can help contain these materials rather than scatter them across a driveway, yard, or work area. Good waste planning is not simply a final chore after the work is finished. It is part of protecting people, preserving access to the property, and keeping a project moving at a manageable pace. When debris has a designated place from day one, workers and household members are less likely to trip over loose materials, make repeated hauling trips, or mix reusable items with waste.
Table of Contents
- 1 Why Cleanup Planning Matters
- 2 Choose A Container Based On The Job
- 3 Start With A Simple Project Waste Review
- 4 Sort Materials Before The Work Begins
- 5 Plan Placement Before Delivery
- 6 Use Safer Loading Habits
- 7 Know Which Materials Need Special Handling
- 8 Take Extra Care With Older Homes
- 9 Reduce Waste Before It Reaches The Disposal Stream
- 10 Build A Cleanup Timeline
- 11 Common Planning Mistakes To Avoid
- 12 Conclusion
Why Cleanup Planning Matters
Whether the project involves one room, an outdoor improvement, a rental turnover, or a whole-property cleanout, clutter can quickly interfere with the work itself. Blocked walkways, unstable piles, exposed nails, and overflowing bags raise the chance of injury and can delay other tasks. A simple plan also helps identify materials that may be donated, reused, recycled, or disposed of through a special program rather than sent away in a mixed load.
Choose A Container Based On The Job
For projects that create a large amount of bulky debris over several days or weeks, Roll Off Dumpster Rentals can provide a contained loading area while the work is underway. The important point is to select a container based on the material and expected volume, not on a rough visual guess.
Questions To Ask Before Choosing
- How much waste will the project create?
- Will the debris be light but bulky, or dense and heavy?
- Will work last a day, several weeks, or longer?
- Is there enough room for safe placement and pickup access?
- Will the container need to be emptied or exchanged during the project?
Do not load above the stated fill line or allow debris to extend beyond the container. Overloading can create transport hazards, prevent removal, and lead to additional handling issues.
Start With A Simple Project Waste Review
Before choosing a removal method, make a short list of the tasks involved and the waste each task is likely to create. This estimate does not need to be perfect. Its purpose is to replace guesswork with a realistic starting point.
- Write down each planned task, such as removing carpet, trimming trees, replacing cabinets, or clearing a garage.
- Estimate whether each task will produce a few bags, several bulky items, or a large volume of debris.
- Separate loose household waste from dense materials such as brick, concrete, tile, or soil.
- Mark items that could be reused, donated, recycled, or handled separately.
- Review the list before arranging collection, hauling, or a container.
Sort Materials Before The Work Begins
Early sorting is one of the easiest ways to make cleanup safer and more efficient. Set aside clear areas for common categories before demolition or unloading begins. This avoids the difficult task of sorting a large mixed pile later, when clean recyclable materials may already be contaminated or damaged.
- Clean wood and untreated lumber
- Cardboard, boxes, and packing materials
- Metal piping, fixtures, and hardware
- Concrete, brick, stone, and tile
- Drywall and insulation
- Branches, leaves, and other yard debris
- Usable cabinets, doors, flooring, and appliances
Local facilities can have different requirements for mixed loads, recyclable materials, and especially heavy debris. Confirm those rules before loading, rather than assuming that all materials can go into the same container.
Plan Placement Before Delivery
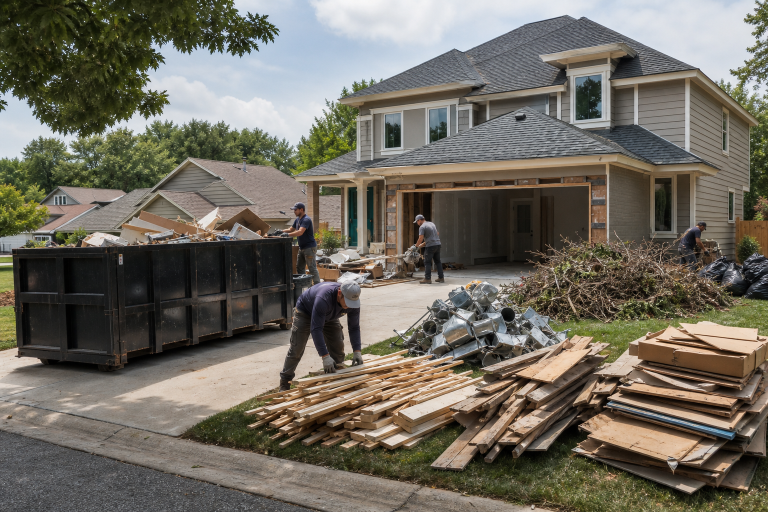
Choose a placement area before materials begin arriving. The location should be firm and level, accessible to the delivery vehicle, and convenient enough that people will actually use it. Keep the area clear of low branches, utility lines, drainage paths, sidewalks, fire lanes, and active driveways. If pavement is delicate, use appropriate protective measures. A container placed near a public road may also require permission under local rules.
Use Safer Loading Habits
- Wear sturdy closed-toe shoes, gloves, and eye protection.
- Carry smaller loads instead of trying to lift oversized or unstable pieces.
- Keep sharp items, broken glass, and nails away from walkways.
- Break down cardboard and lightweight, bulky materials when practical.
- Do not climb on the container or toss heavy items from an unsafe height.
- Keep children, pets, and unnecessary visitors outside the work zone.
- Secure loose debris when wind or rain could move it.
Know Which Materials Need Special Handling
Not every item belongs in a standard waste container. Paint, solvents, fuels, pesticides, propane cylinders, batteries, medical waste, electronics, refrigerants, and some appliances may require a separate program. When an item is uncertain, contact the local solid waste office or a qualified household hazardous waste program before disposal. This step can prevent dangerous reactions, leaks, fires, and rejected loads.
Take Extra Care With Older Homes
Renovation work in homes built before 1978 requires added caution because disturbed surfaces may contain lead-based paint. The EPA explains that lead-safe renovation practices help limit the spread of harmful dust during repairs, remodeling, and painting. Contain the area, keep dust controlled, seal debris carefully, and clean thoroughly before allowing people or pets back into the space.
Reduce Waste Before It Reaches The Disposal Stream
Lower-waste cleanup does not require saving every scrap. Focus on materials that are still usable or easily separated. Donate functional fixtures and appliances when accepted, reuse clean lumber for small repairs, recycle eligible cardboard and metal, and buy building materials in measured quantities. The EPA notes that salvage, reuse, and recycling of construction materials can reduce the amount of debris requiring disposal.
Build A Cleanup Timeline
- Before work: Estimate debris, identify restricted items, and prepare sorting areas.
- During work: Keep paths open, load safely, and separate materials as they are removed.
- Mid-project: Check remaining capacity and adjust the plan if waste is accumulating faster than expected.
- Before pickup: Confirm access, fill levels, and that loose debris is secure.
- After removal: Sweep for nails, glass, dust, and small scraps that may have been left behind.
Common Planning Mistakes To Avoid
- Waiting until the final day to decide how debris will be removed.
- Choosing a container without considering waste volume or weight.
- Mixing hazardous materials into ordinary debris.
- Placing a container where a truck cannot safely reach it.
- Ignoring fill limits, local placement rules, or material restrictions.
- Assuming every recyclable item belongs in the same recycling stream.
Conclusion
A clean project rarely happens by accident. Estimating waste, sorting materials, selecting an appropriate container, and scheduling removal around the work all help create a safer and more organized site. With a clear plan from the first load to the final sweep, home and property cleanups can be easier to manage, less wasteful, and less likely to disrupt the work that matters most. Planning also helps prevent overflowing containers, unnecessary delays, and extra handling when debris accumulates faster than expected. Before work begins, consider the type and volume of materials, available space, access for collection, and any local disposal requirements. Keeping walkways, entrances, and active work areas clear can also make it easier for workers and homeowners to move safely around the property. A practical cleanup strategy ultimately keeps the project moving while making debris removal more predictable from start to finish.