How to Prepare Your Property for Asphalt Paving
Preparing your property for an asphalt paving project is fundamental for achieving a surface that lasts and looks great. Each step, from site clearing to final preparations, ensures the job is done right, preventing issues that could result in expensive repairs or premature deterioration. For best results, it’s wise to consult asphalt paving specialists who bring expertise and equipment to every project, helping property owners avoid common pitfalls and achieve a smooth finish.
Taking the time to get your property ready not only supports efficient work by the paving crew but also safeguards your belongings and ensures your project stays on track. The right preparation leads to a durable and visually appealing surface, boosting curb appeal and property value for years to come.
Table of Contents
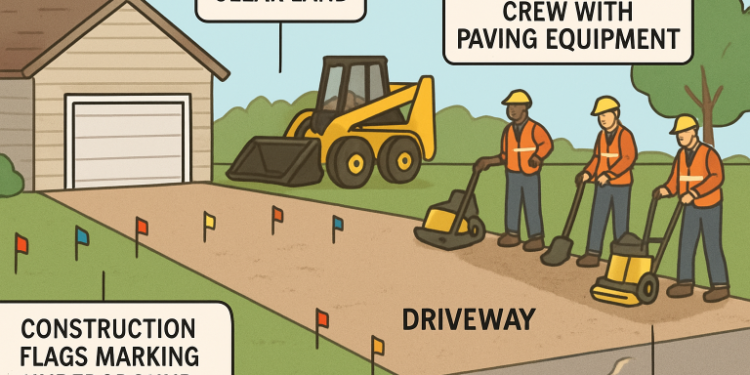
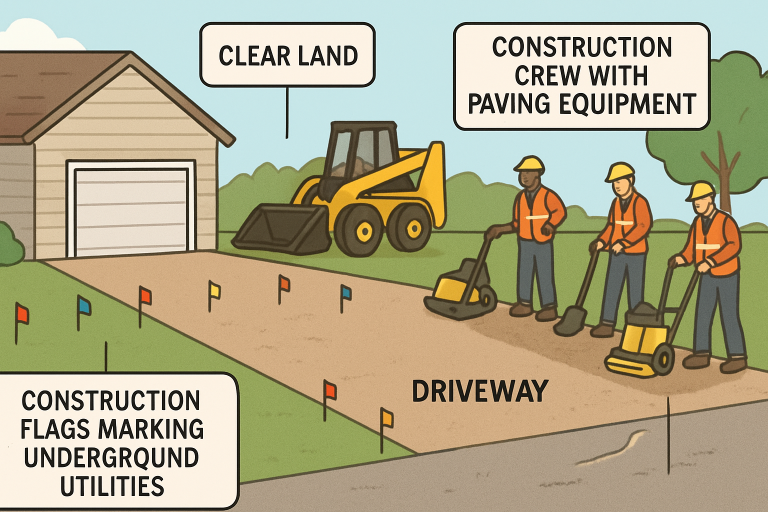
Clear the Area
Begin your asphalt project by clearing the site of all vehicles, outdoor furniture, structures, and miscellaneous debris. This essential first step provides a clean slate for work and lets contractors move freely with machinery. Pay extra attention to any overhanging tree branches or low-hanging wires—these can obstruct large paving equipment and slow down the process. Taking the time to clear the area adequately ensures safety and prevents inadvertent damage to your property or the contractor’s machinery.
Mark Underground Utilities
Before excavation or grading starts, it’s vital to mark all underground utilities—such as water lines, gas pipes, sewer systems, and electrical wires—that run under the job site. Contacting local utility companies to pinpoint and flag these lines can save you from dangerous and potentially costly incidents. Damaging a buried line can lead to delays, expensive repairs, and safety hazards for workers and residents. Many regions have dedicated services (like Call 811 in the United States) to assist with this marking free of charge.
Remove Existing Pavement
Complete removal is necessary for optimal results if your property features an outdated or damaged pavement surface. Contractors typically use heavy-duty demolition equipment to break up the existing layer, then haul away the debris. Skipping this crucial step can compromise the new asphalt’s integrity by allowing the old, unstable base to settle, promoting cracks or potholes in the fresh surface. Removal guarantees a solid foundation and gives your new asphalt a fresh start.
Ensure Proper Drainage
Effective drainage is fundamental to asphalt longevity and performance. Without well-designed drainage, water can pool, soak into the base, and lead to cracks, rutting, or potholes. Consult your paving professional to analyze your driveway’s slope or parking area, and make adjustments by grading the surface. Directing runoff away from the pavement and your home’s foundation prevents excessive moisture infiltration and the costly property damage it can cause. According to This Old House, proper grading and drainage considerations are among the top priorities for any outdoor improvement project, including driveways and walkways.
Prepare the Sub-Base
The sub-base is the hidden backbone of your new asphalt surface. It typically consists of compacted crushed stone or gravel that provides structural support and aids water movement below the pavement. A properly prepared sub-base helps prevent shifting, erosion, and future surface cracking. This step involves layering, watering, and compacting to stabilize the site and guarantee lasting pavement results. Quality work at this stage sets your driveway or parking area up for maximum longevity and strength.
Plan for Temporary Access
Paving operations can restrict entry to your property for several days. Anticipate this disruption by making alternate parking arrangements for family members, tenants, or visitors. Let everyone know about construction schedules and access limitations. This planning not only prevents inconvenience but also helps the job stay on track, reducing delays and confusion during the paving process.
Schedule the Paving Process
The timing of your project is crucial for a successful installation. Asphalt paving should be scheduled during dry weather with mild temperatures, as cold or rainy conditions can impair compaction and curing. Coordinate with your contractor to monitor the forecast and prepare to shift dates if necessary. Flexible scheduling ensures that your new pavement sets properly and delivers your expected performance and appearance.
Final Preparations
On paving day, a few last-minute actions will protect your property and ensure the project goes smoothly. Turn off sprinkler systems to keep the area dry, which helps asphalt bind effectively. Secure pets and children away from the work zone for their safety. Make sure access paths are clear so crews and machinery can move freely. These simple preparations allow your contractor to work efficiently, deliver quality results, and minimize any risk of accidental property damage.
You carefully follow these steps to set your property up for a successful asphalt paving project. Thoughtful preparation, expert guidance, and clear communication can make the difference between a surface that lasts for decades and requires frequent repairs. The extra time invested before laying the first layer of asphalt will reward you with a durable, attractive driveway or parking area for years to come.